Deutsche Version dieses Postings
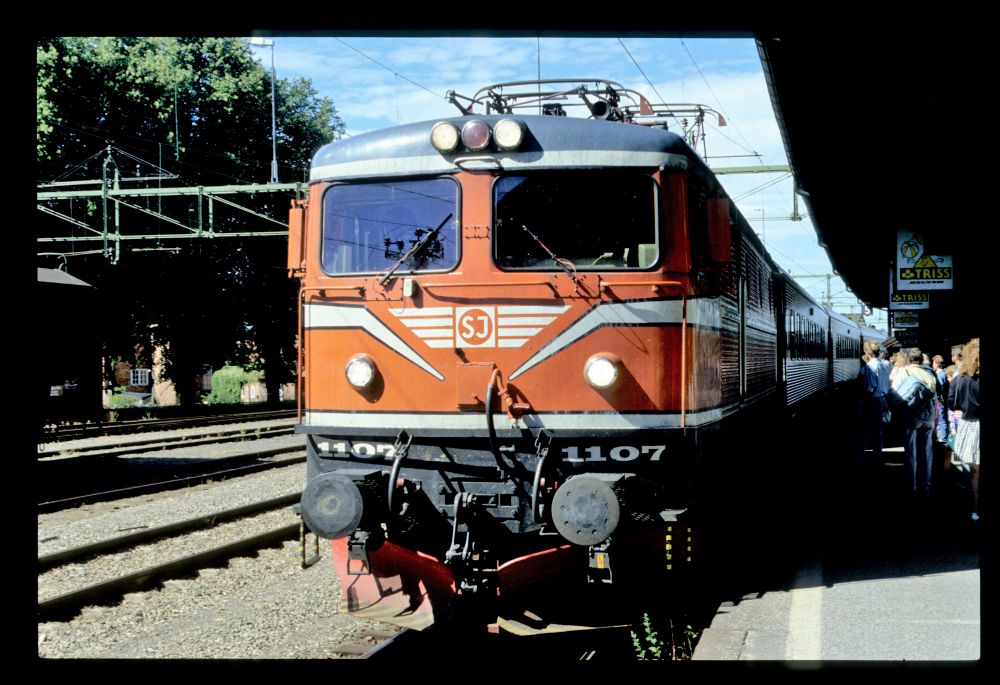
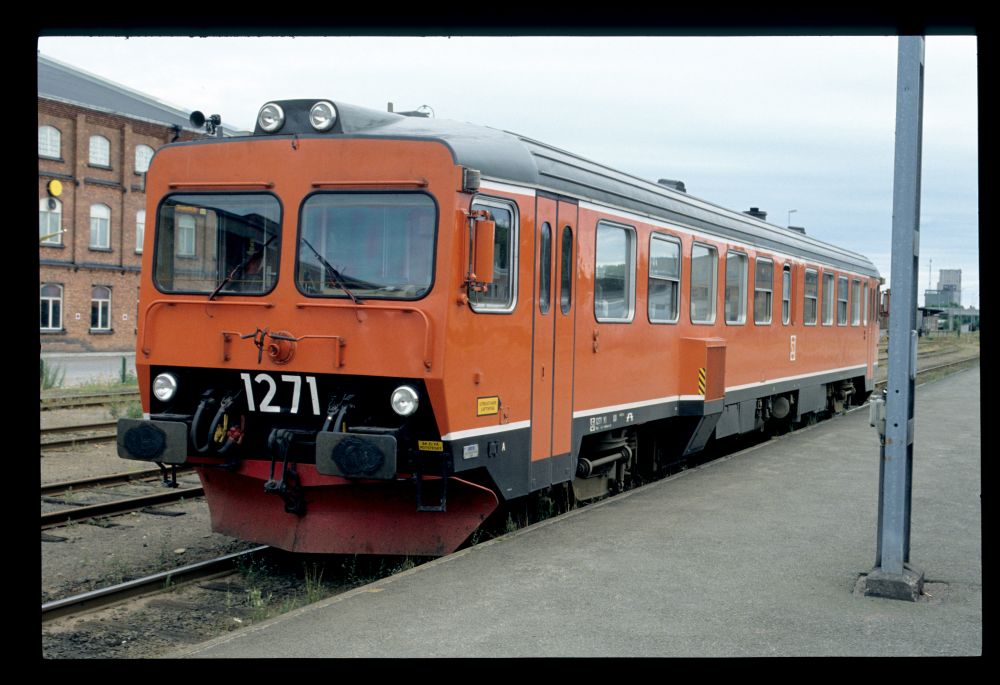
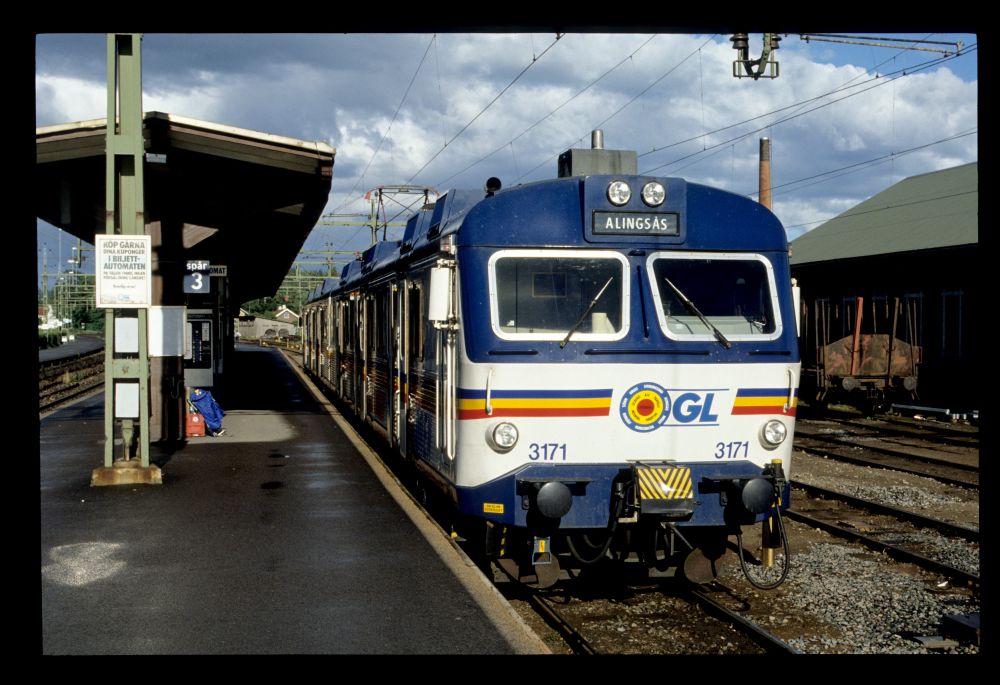
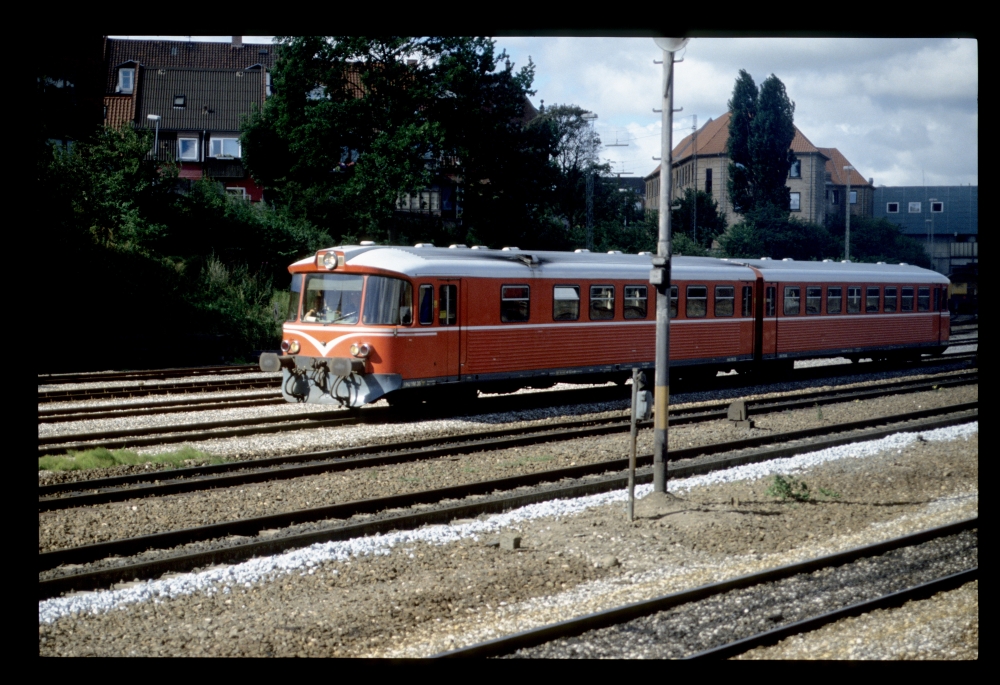
My first photo from Lidköping shows the Fiat class Y1 rail car:
SJ Y1 1271, Lidköping, 17.7.1989
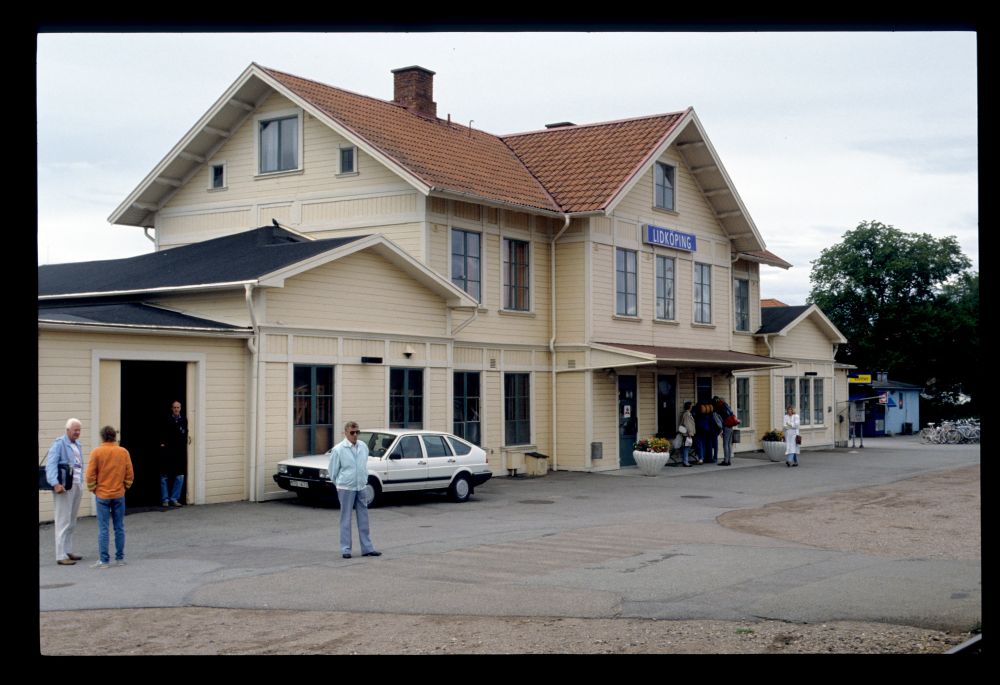
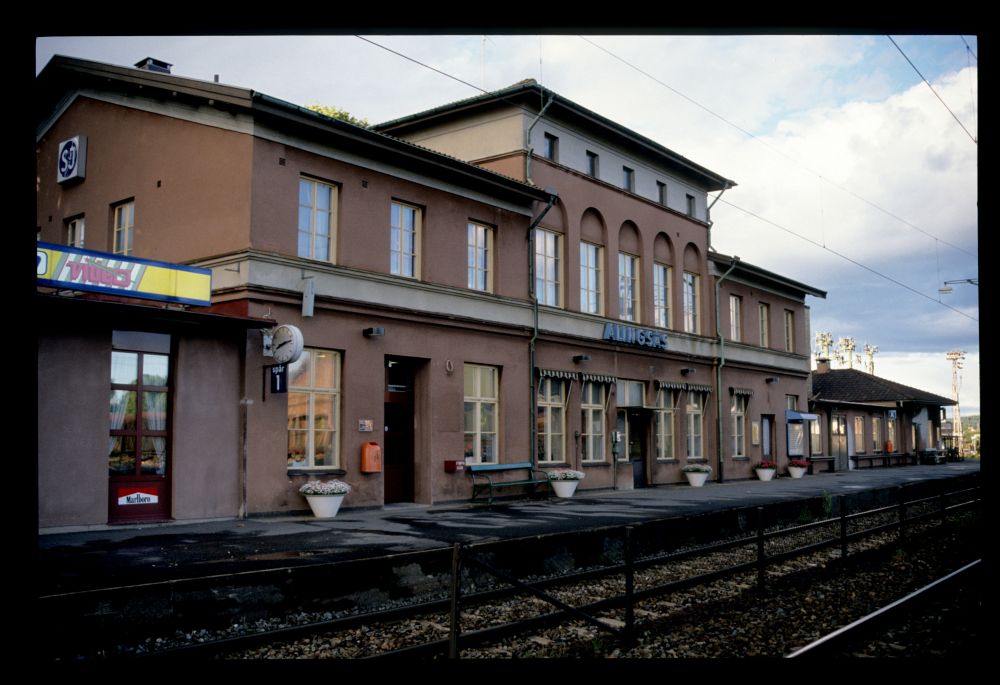
The station building is built in typical Swedish style:
Station building, Lidköping, 17.7.1989
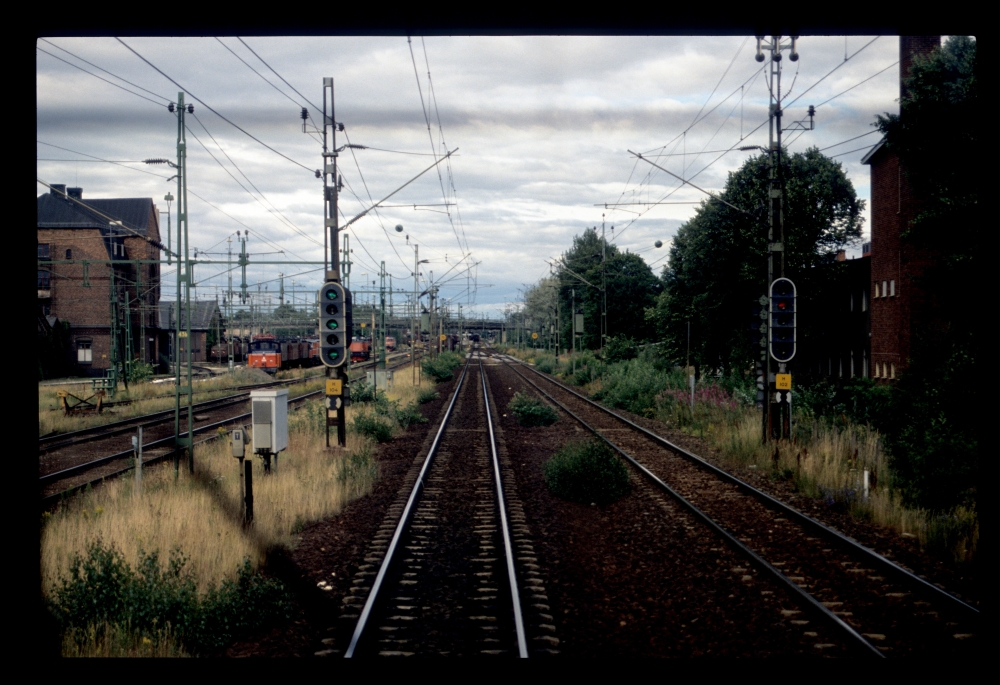
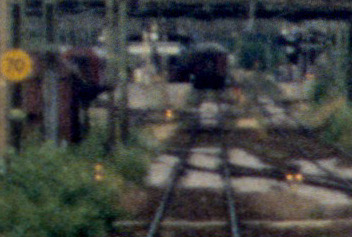
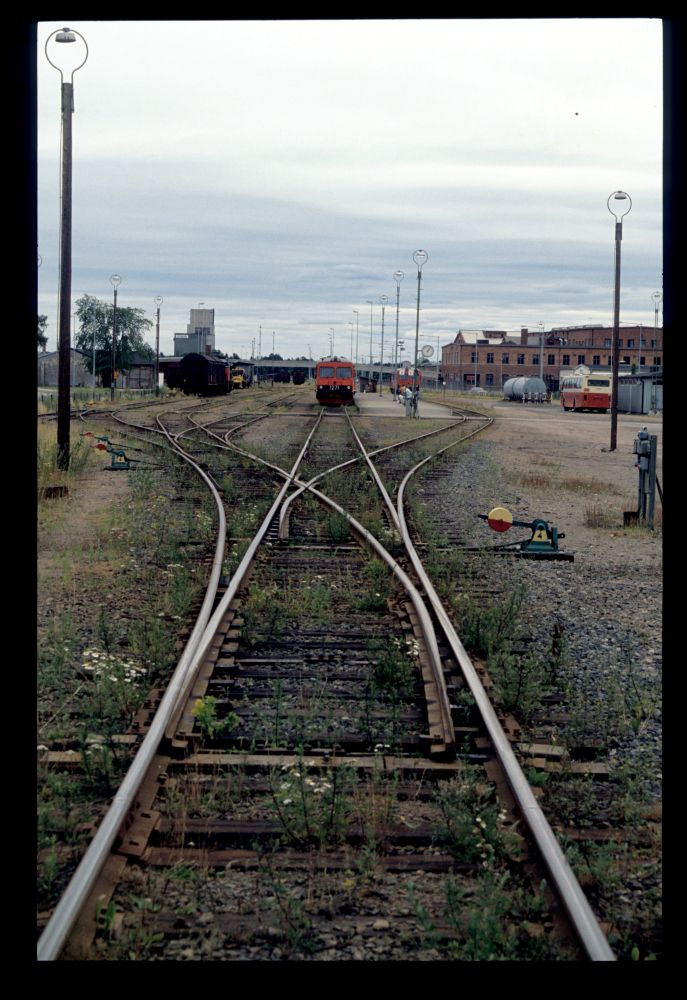
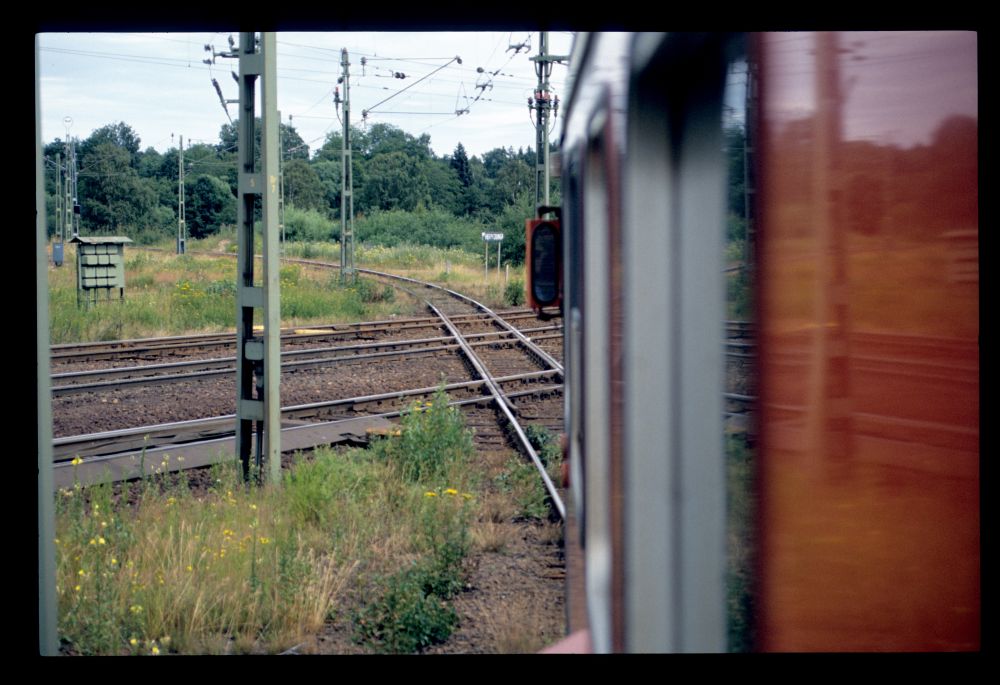
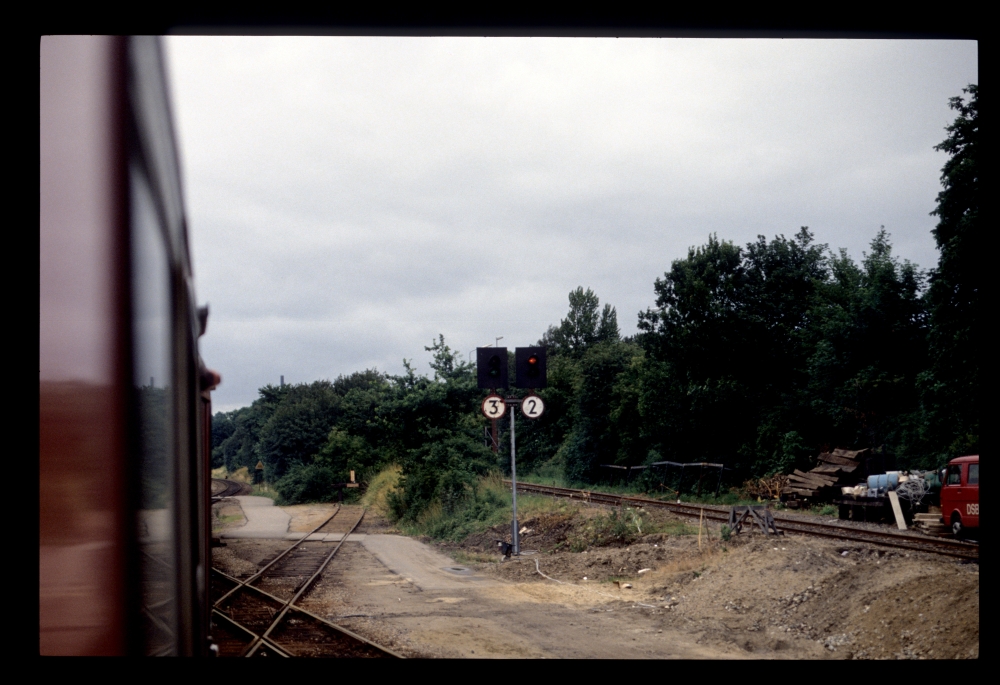
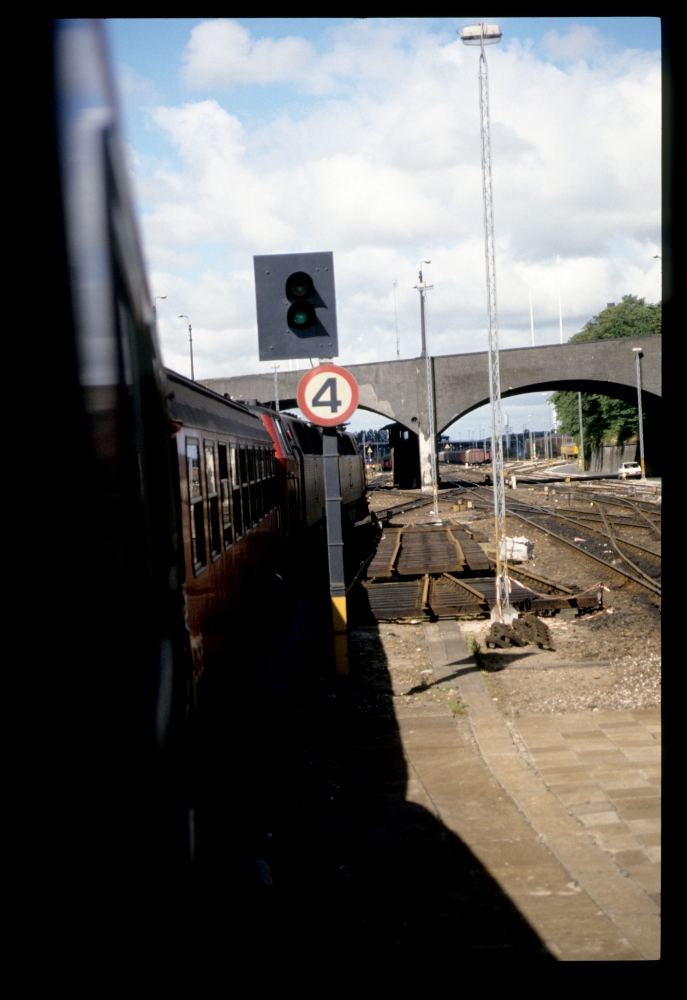
This photo from the western throat shows, directly ahead, our rail car on track 2. Another class Y1 is on track 1 on the right. The station building would be on the right, out of the picture. It is interesting that there are two double switches in the ladder track—in Austria and Germany, the necessary additional frogs would not have been accepted, whereas railways more influenced from Great Britain did not hesitate to use more of them. Moreover, Swedish authorities apparently did not consider it necessary to use separate points indicators—the weights on the points levers were probably deemed to be enough for pointing out the position. On the very right, one can see the locks used to transmit the position to the central interlocking, and additionally lock the points' keys:
Yard tracks, Lidköping, 17.7.1989
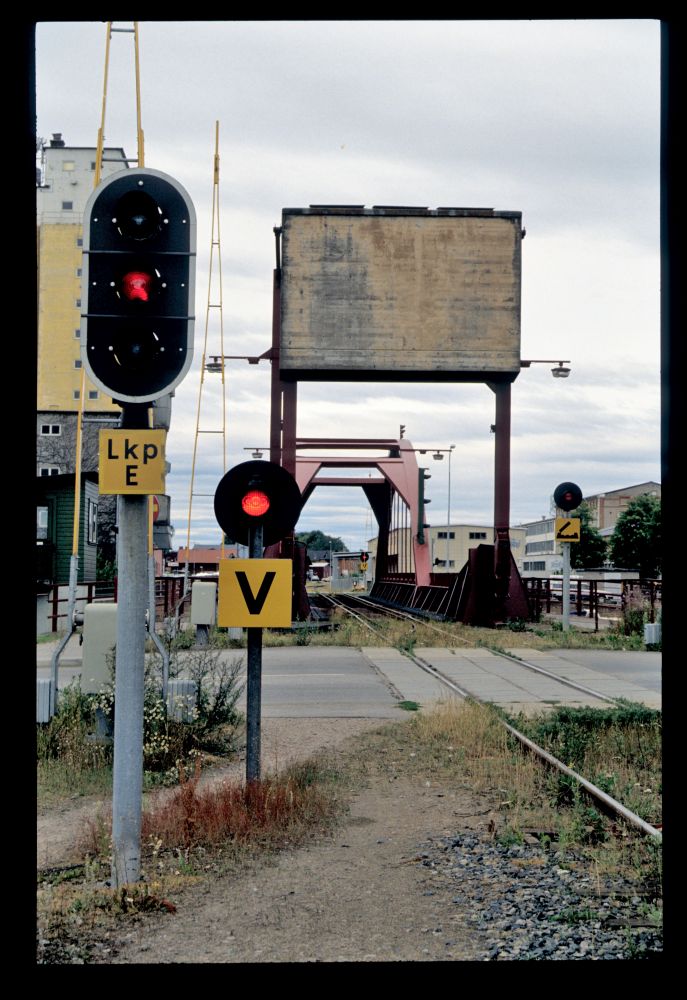
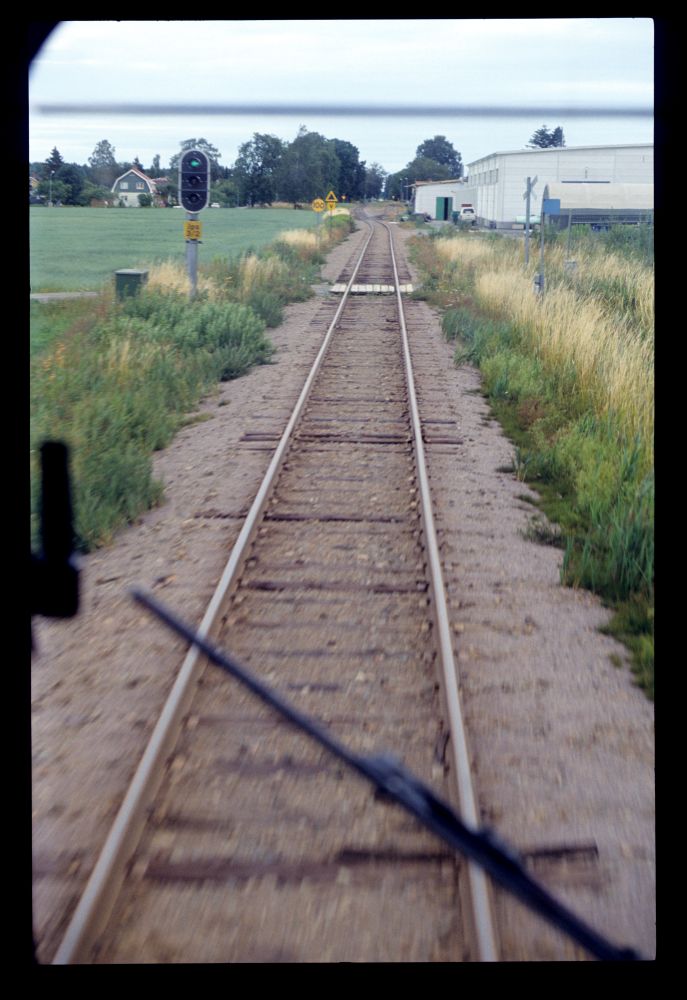
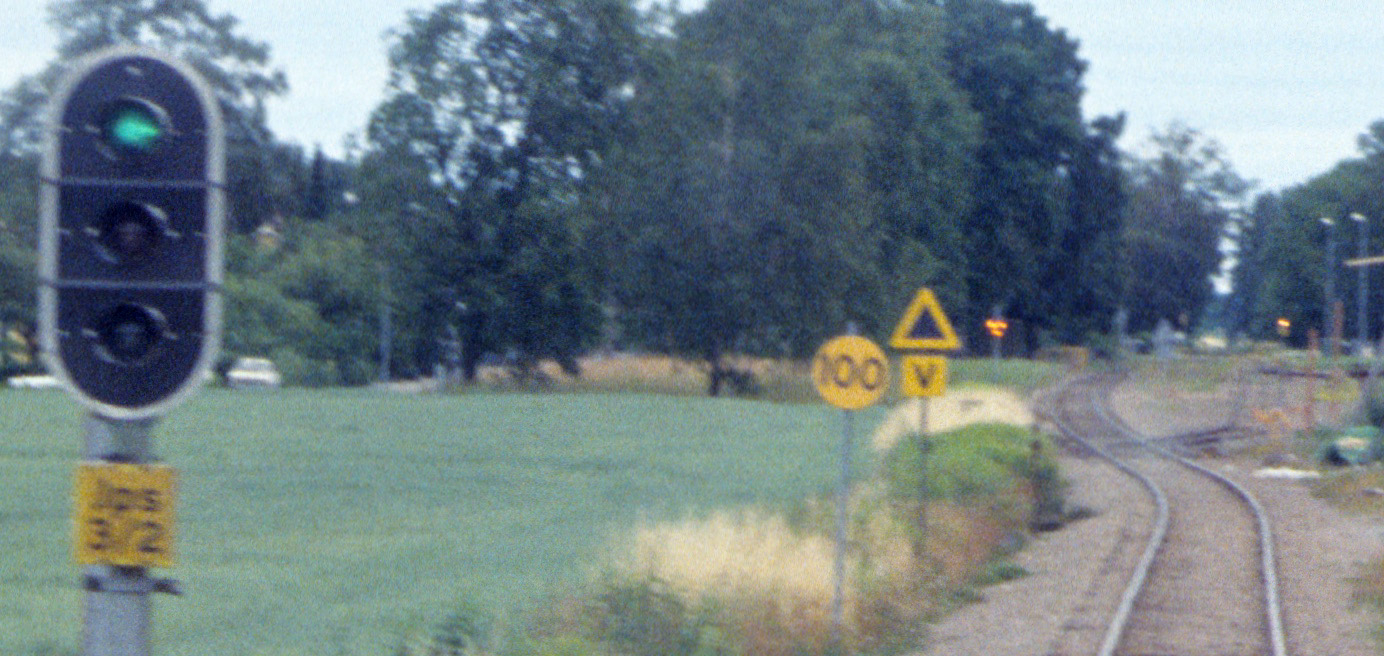
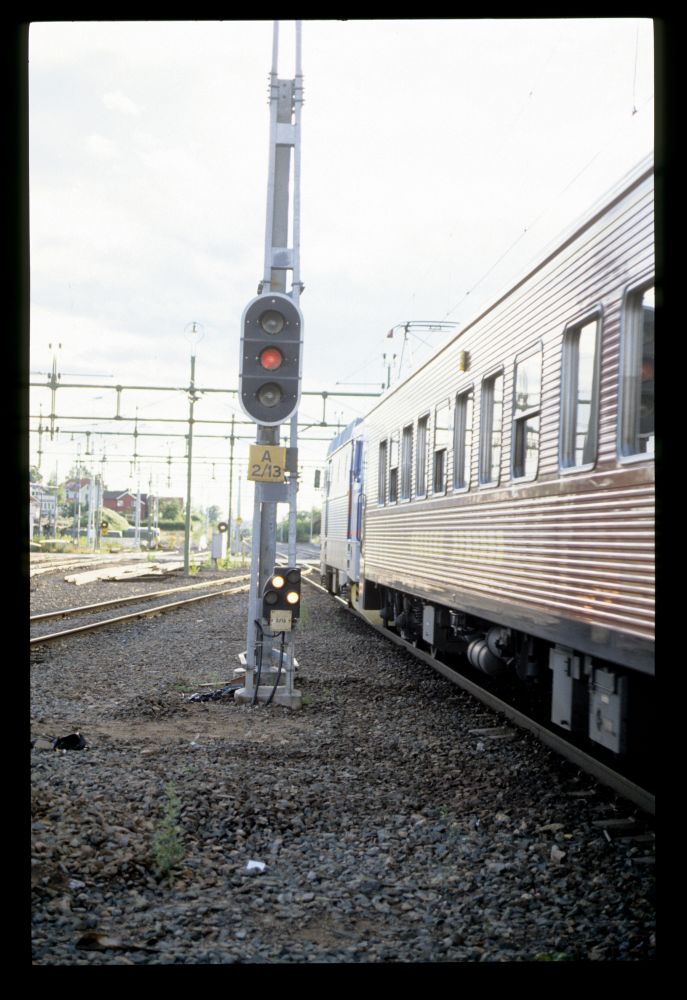
The line from Lidköping towards Herrljunga crosses a drawbridge. One can see the heavy counterweight here above the track, and a few signals:
- The starting signal Lkp E;
- a level crossing signal V indicating whether barriers are down;
- the bridge signal on the right side—the track panel we will see in a moment says that its name is BsI, but this is not shown on the signal itself.
Drawbridge and signals, Lidköping, 17.7.1989
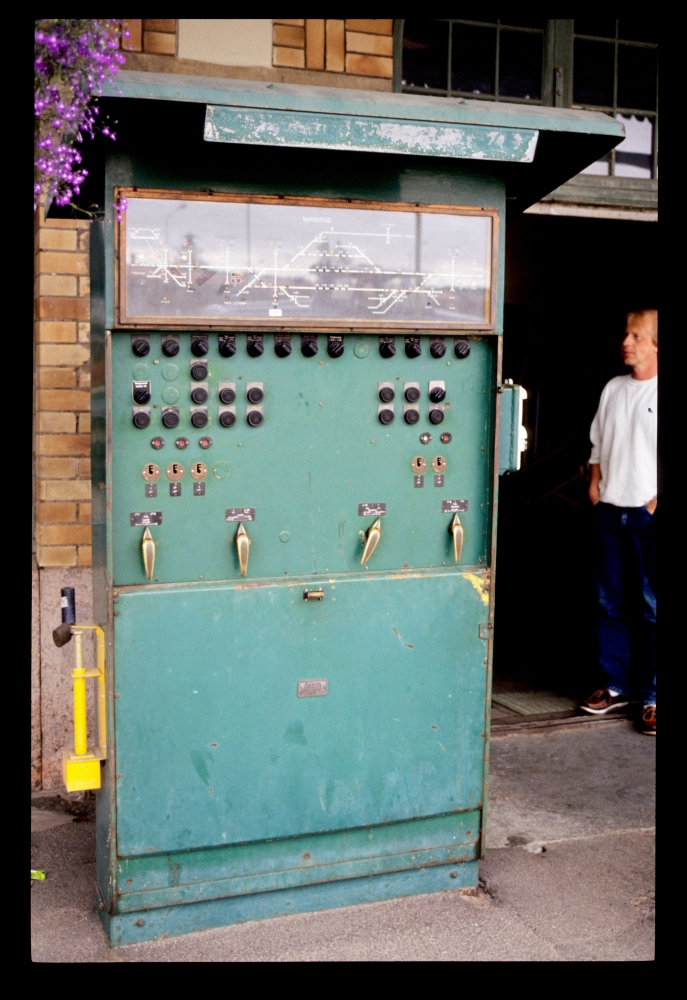
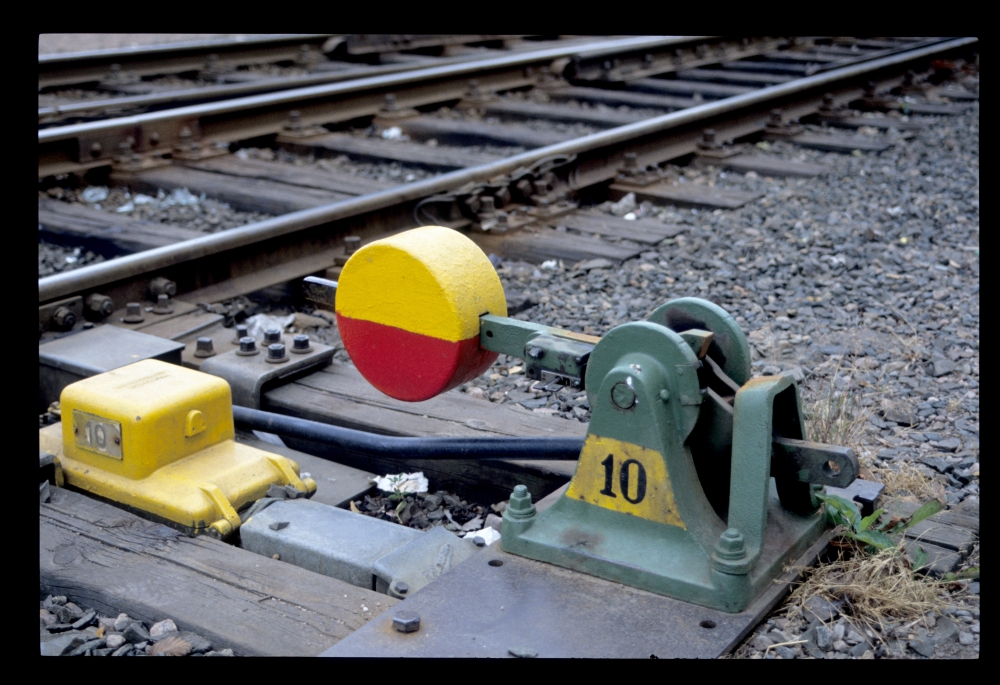
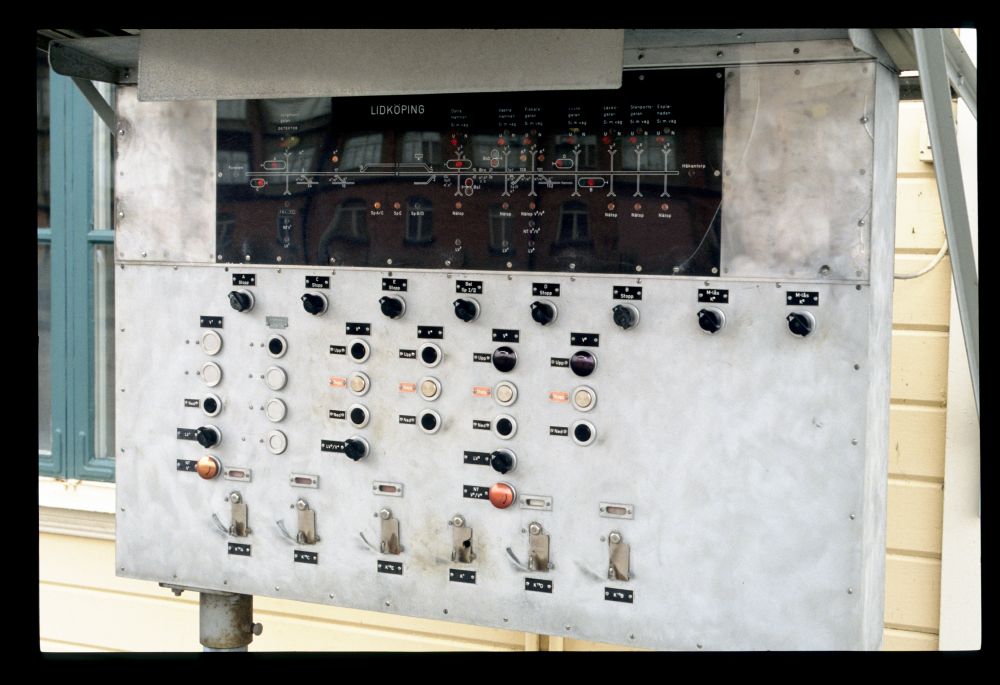
At the station building, there was a typical Swedish small interlocking. In Swedish, they are called
centrallås, meaning "central lock". As can be seen above, the points were reversed locally (
klot växels, i.e. "ball points"—I assume because of the round weights at the points) and locked by keys:
Interlocking, Lidköping, 17.7.1989
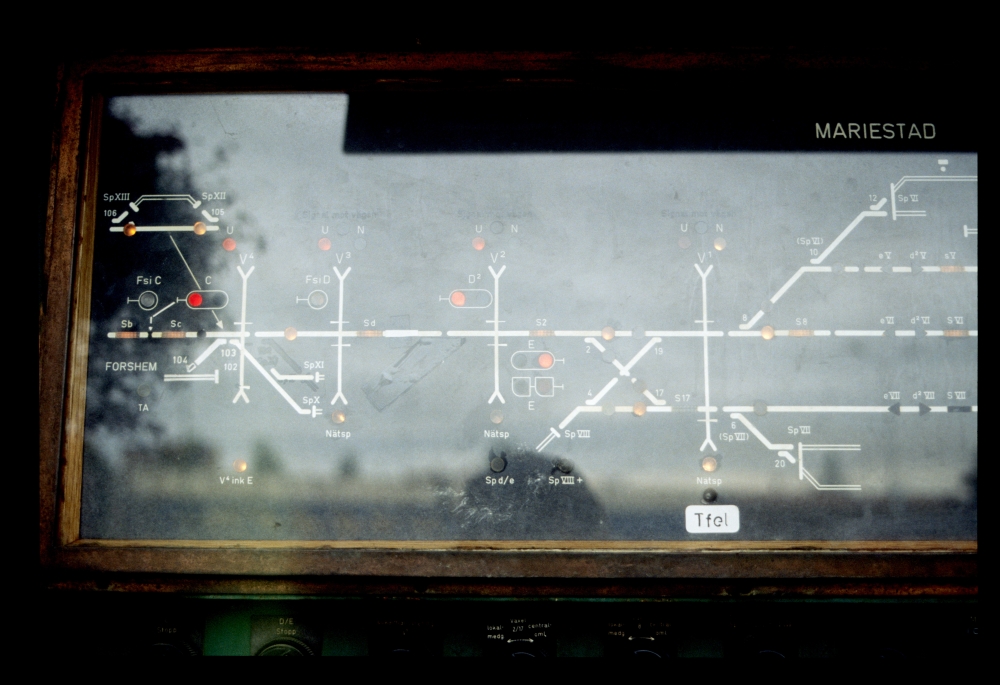
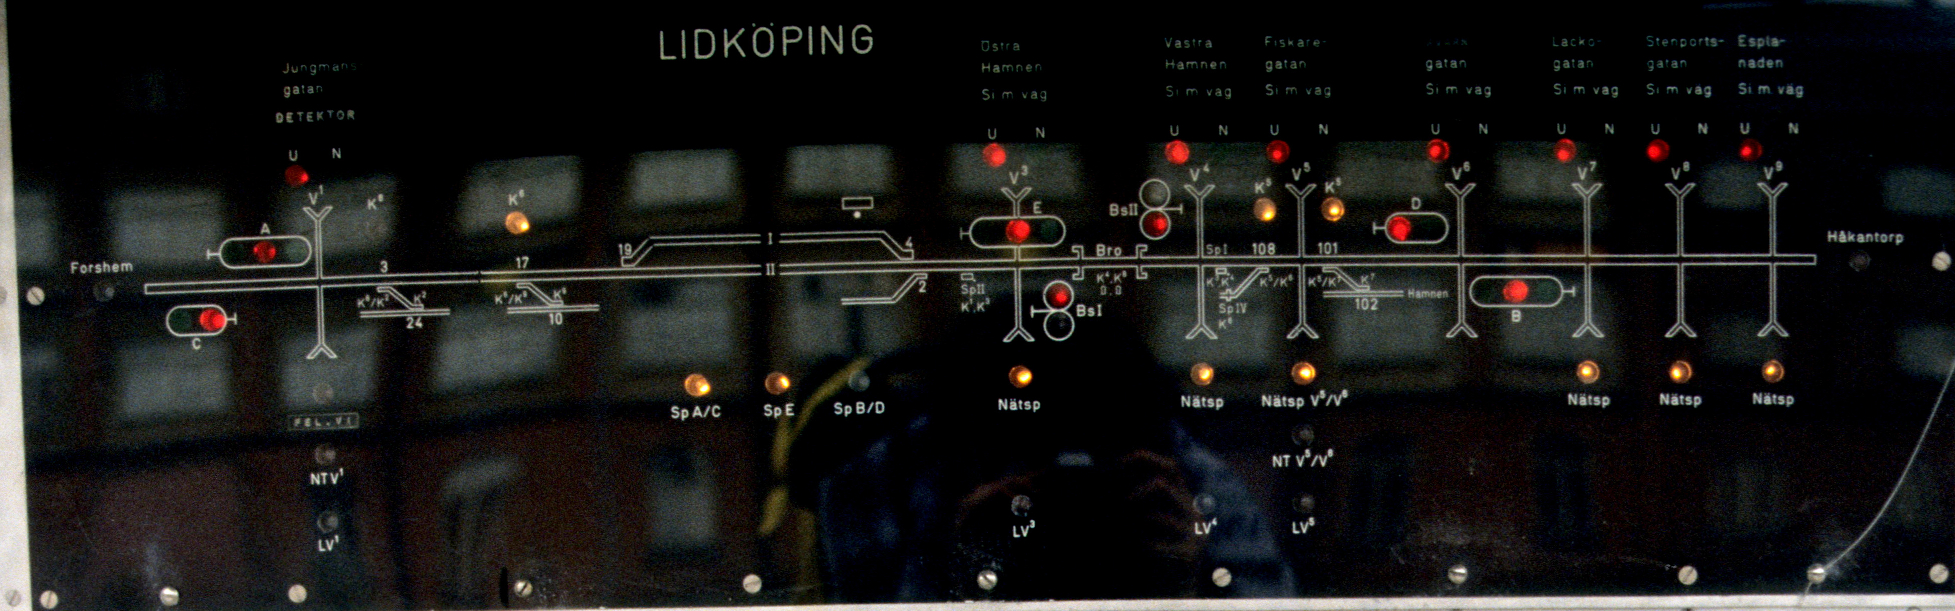
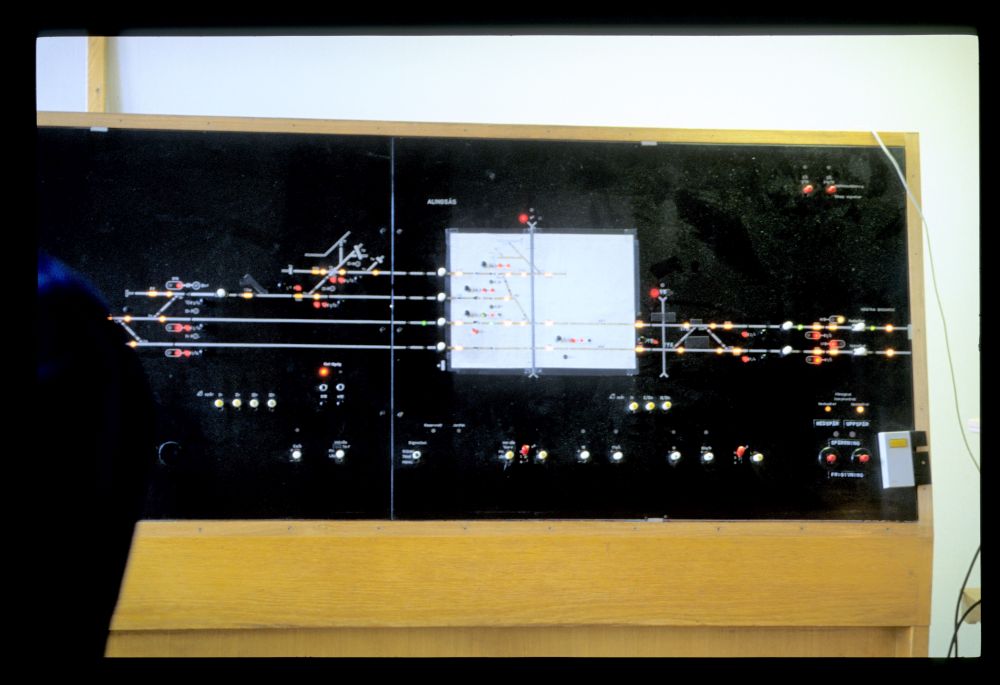
The following picture shows an enlargement of the panel (
click opens a readable image). On the left, one can see the home signal from Forshem. Below it is starting signal C. Towards Håkandorp, there are two starting signals: First, there is signal E, and then signal D past all the points (a sort of "outer starter"). Near E, one can see the drawbridge symbol (
Bro = bridge), whose protecting signals BsI and BsII are located at the
right side. Last, but not least, there is a series of level crossing, with indicator lamps U (
Upp = up, barriers are open) and N (
Ned = down, closed barriers):
Interlocking panel, Lidköping, 17.7.1989
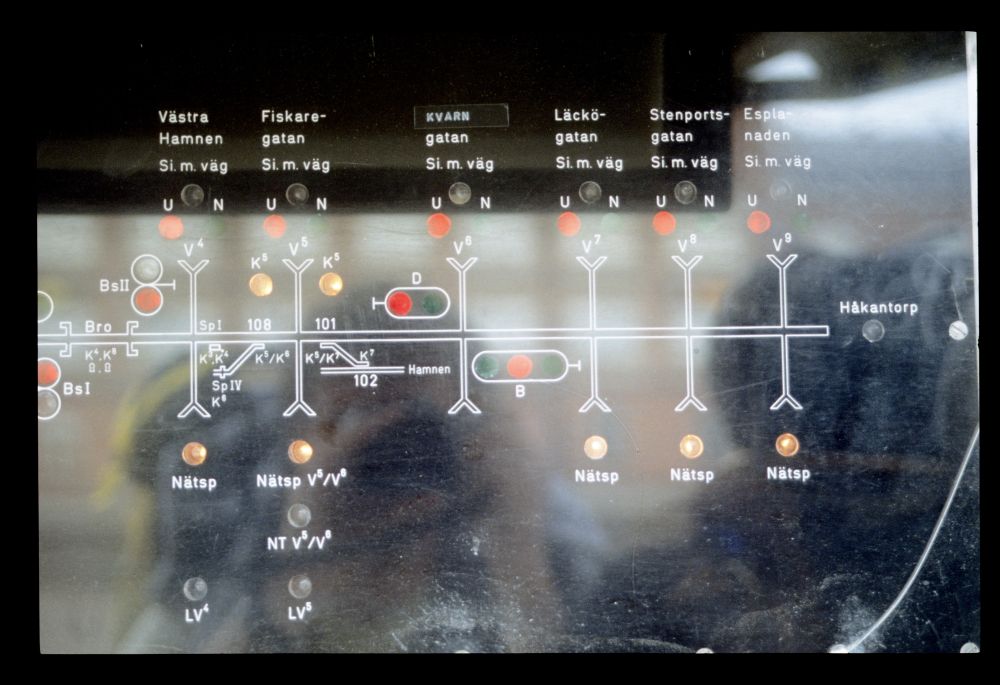
Here is the right side of panel:
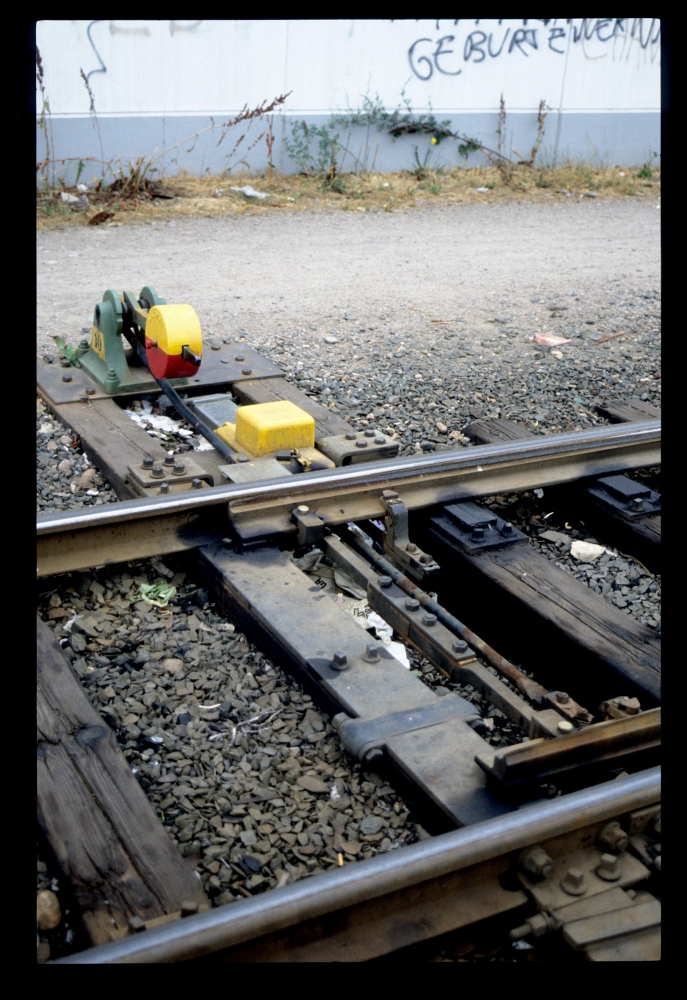
Interlocking, Lidköping, 17.7.1989
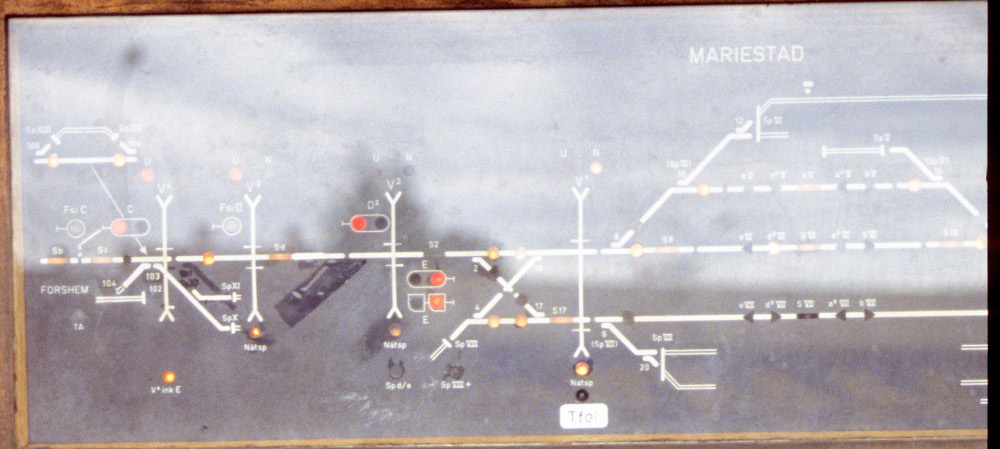
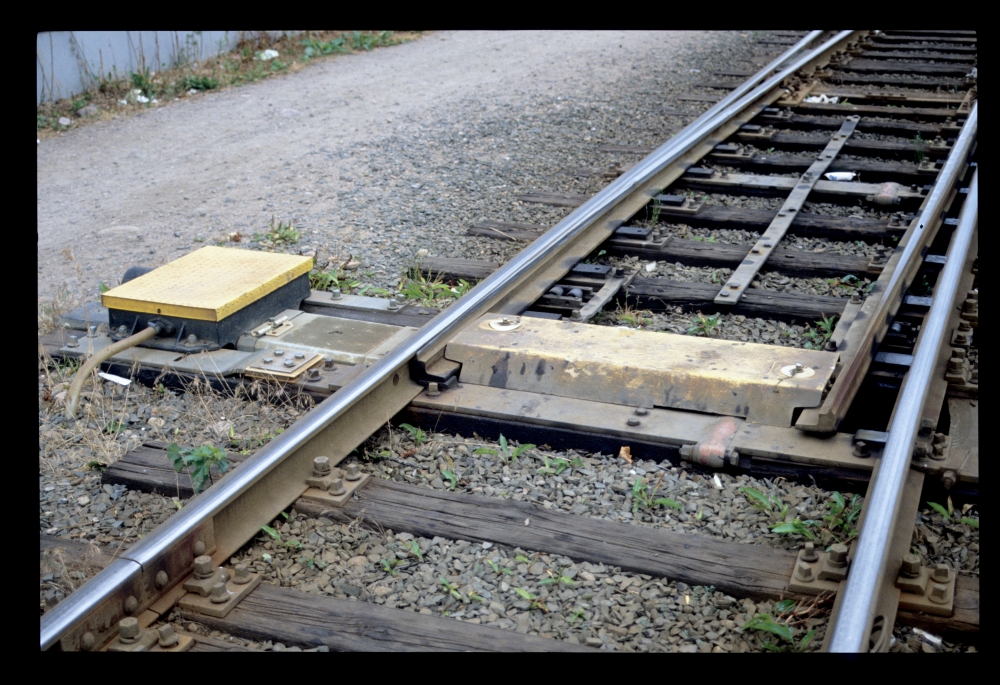
In the following image, one can see that the panel only contains two of the station's five tracks. Apparently, interlocking panels only depict tracks used for train routes. All other tracks are shown only to the nearest flank protection:
Interlocking, Lidköping, 17.7.1989
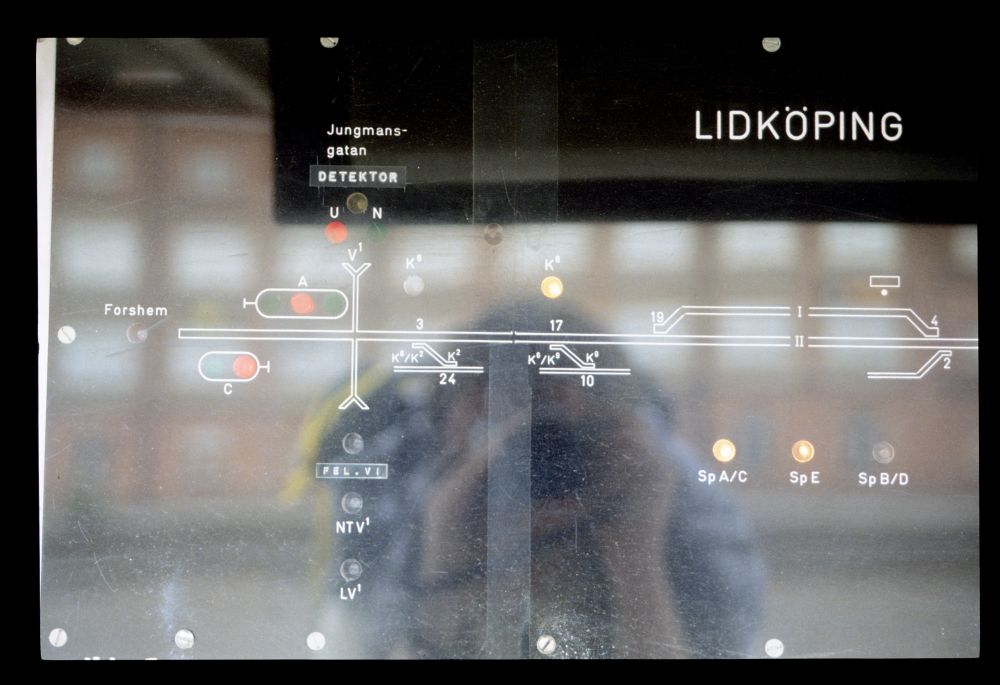
Here is a last picture of the complete interlocking panel (
click opens it in full resolution, where one can read all labels):
Interlocking, Lidköping, 17.7.1989
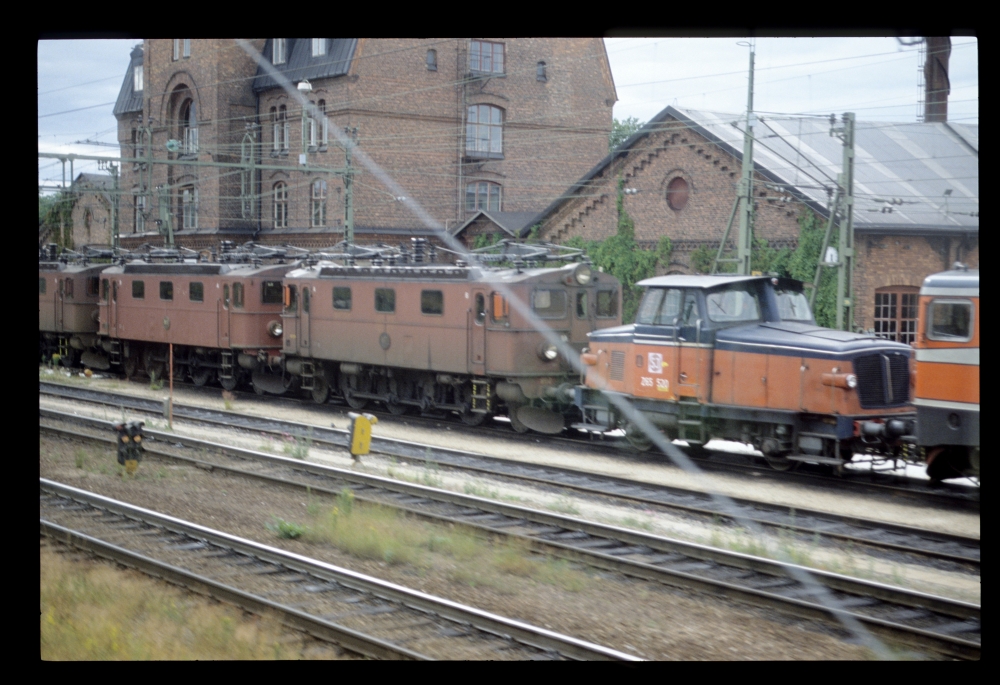
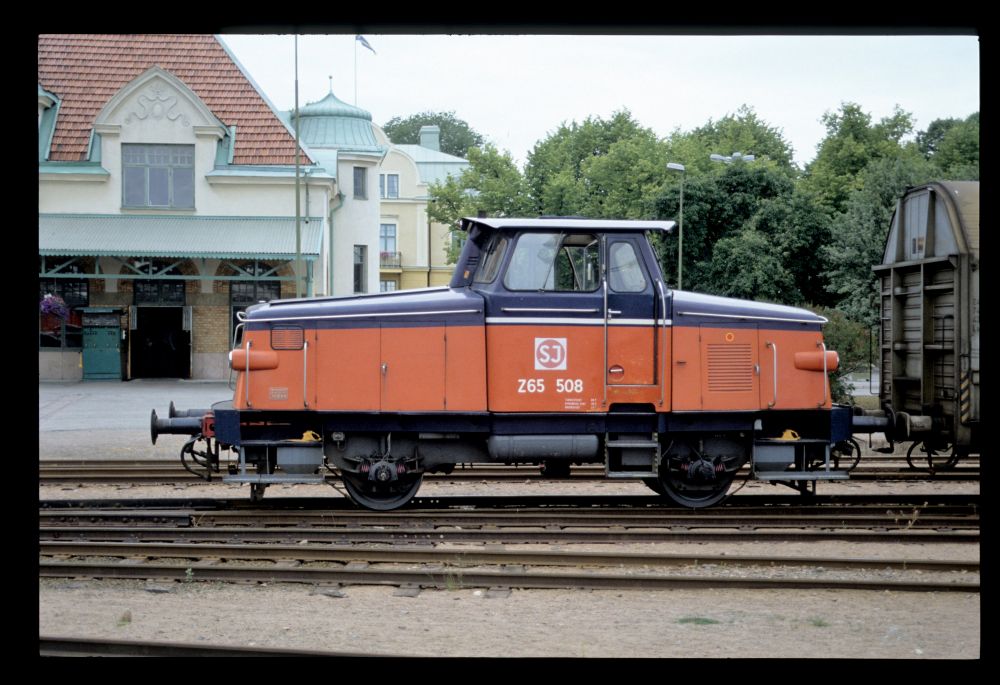
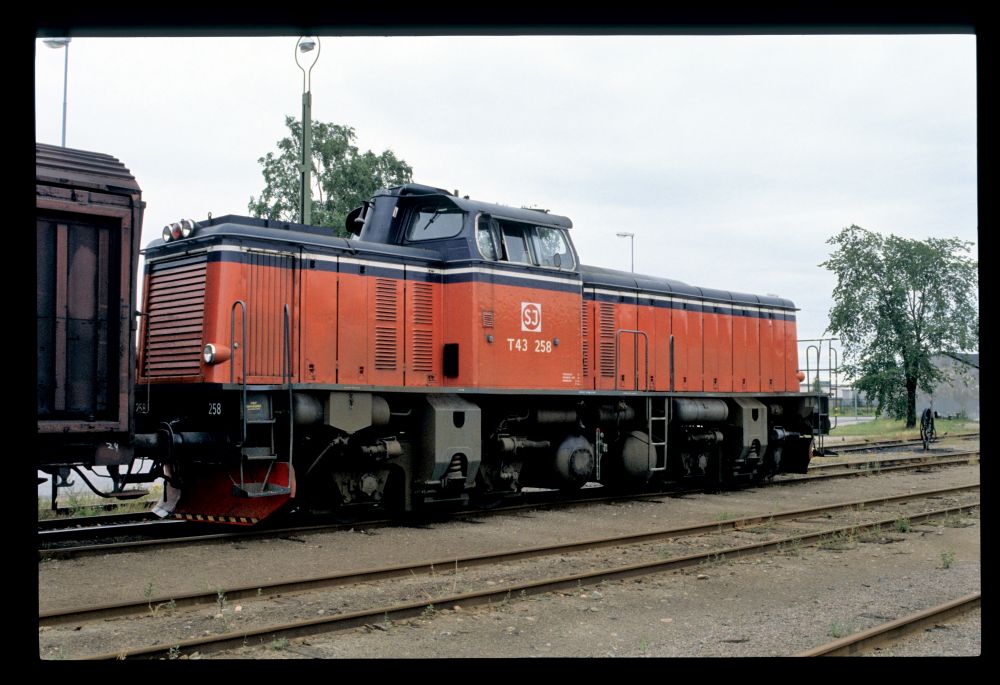
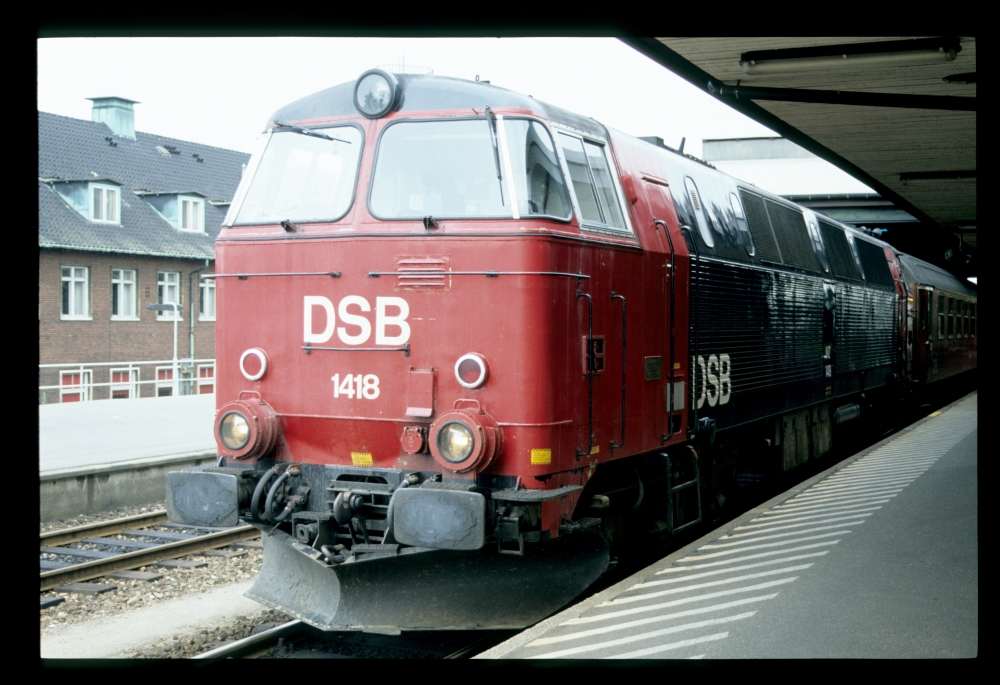
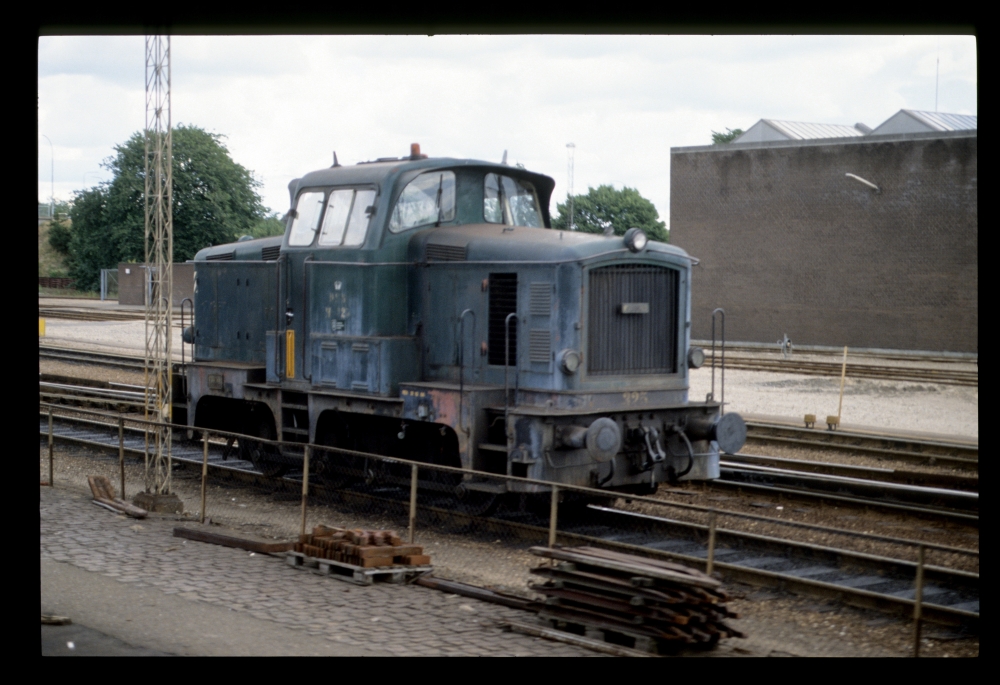
This T43 had arrived with a short goods train, but it did not move while we were in Lidköping:
SJ T43 258, Lidköping, 17.7.1989
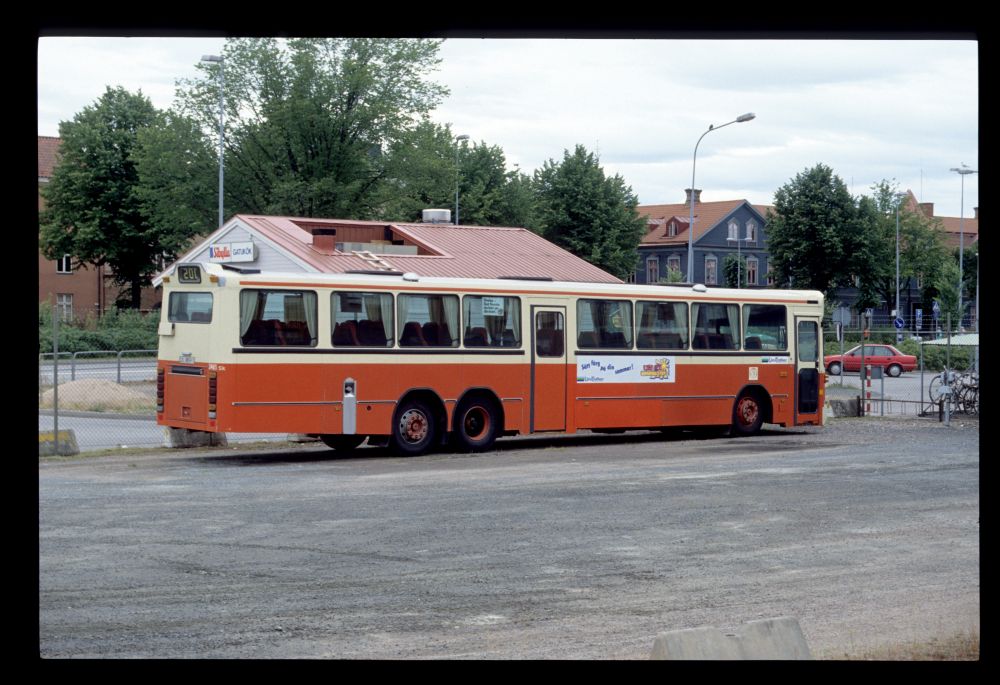
Outside the station, this SJ bus waited for passengers:
SJ bus, Lidköping, 17.7.1989
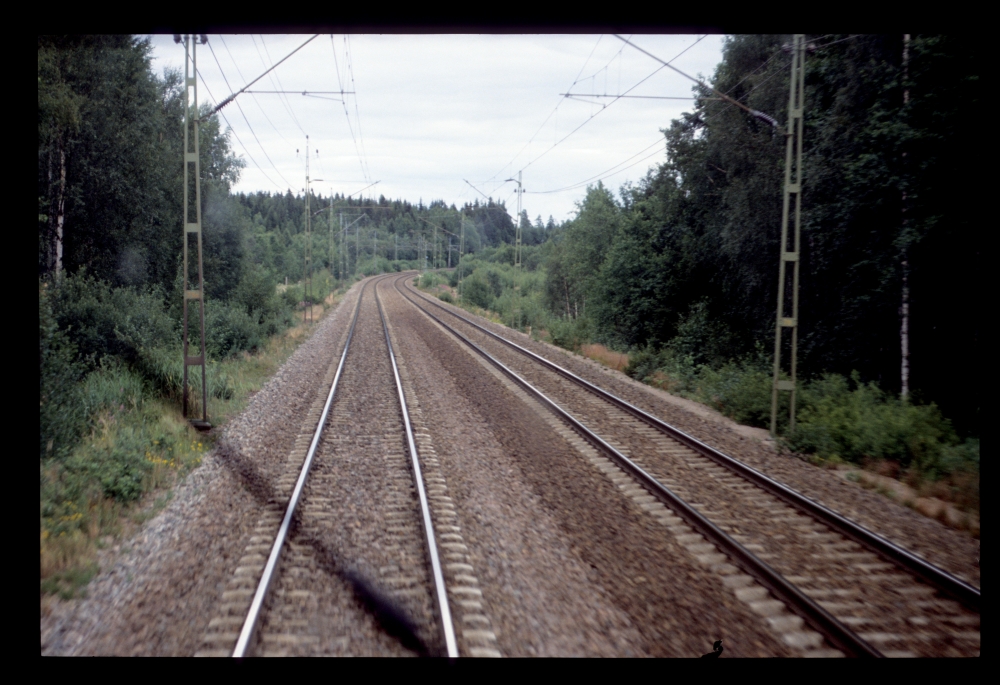
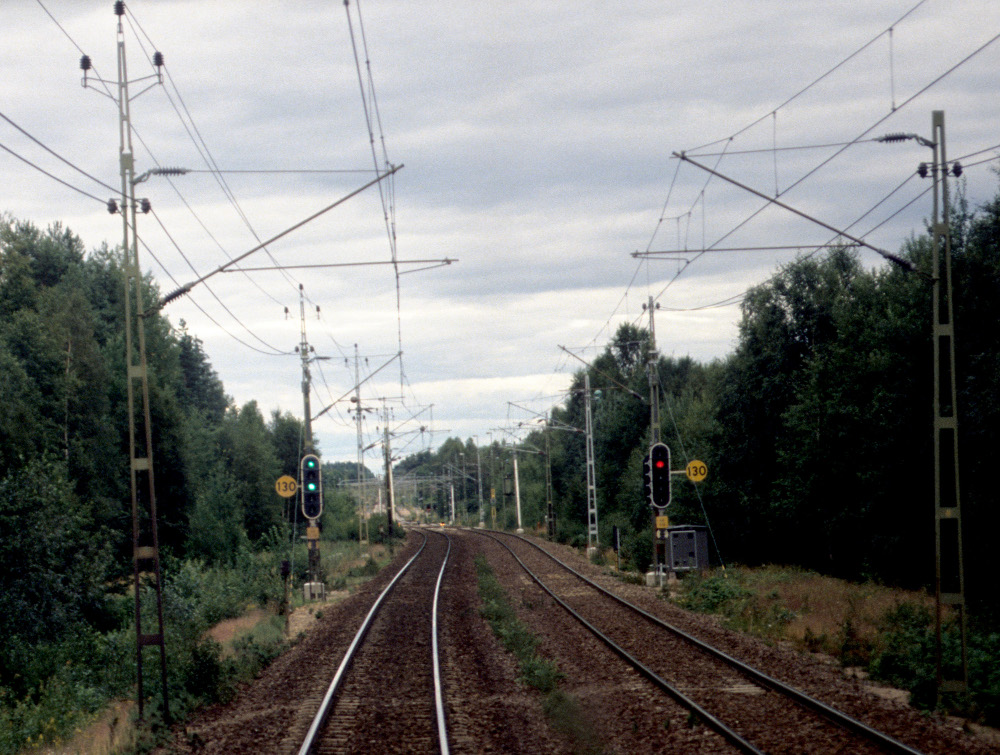
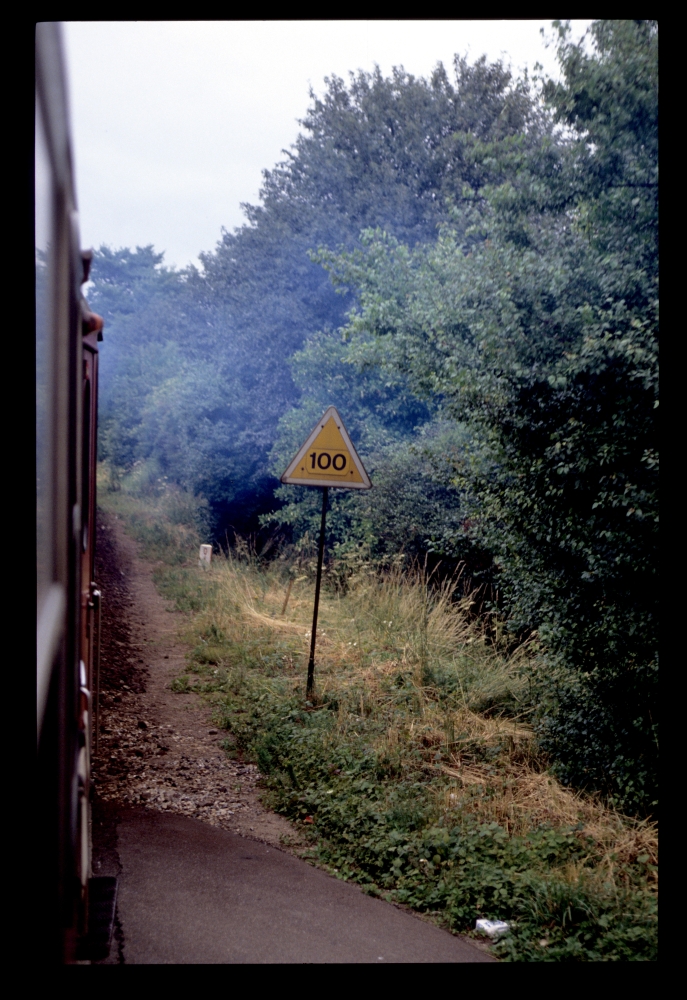
Finally, here is a picture that shows home signal Fhm 4/2 of the next station, Forshem:
Home signal Fhm 4/2, Forshem, 17.7.1989